Asset Transfers
Transfer assets in Calibration Control (our Calibration Management Software) and create historical log records of the transfer to a different Site, Department, Location, Custodian, as well as a convenient Status Change in one swift move.
Transfer Assets to a Site, Department, Location, Custodian, or Status
There are two dialog formats available for Asset Transfers; the traditional dialog (described first) performs only Asset Transfers, while the multi-transactional dialog (described second) can support multiple moves of Asset Transfers, Check Out, and Status Changes transactions.
Open Asset Transfer Dialog
Select the Asset Transfer feature icon from the Tools tab of the ribbon menu.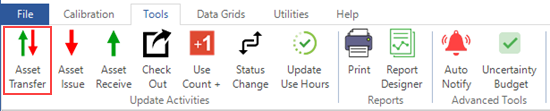
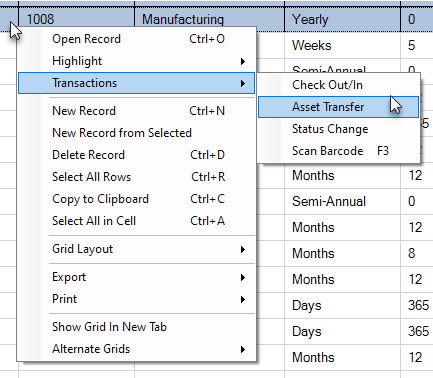
The Asset Transfer activity dialog can also be opened from the Equipment Grid by right-clicking directly on an Equipment record and selecting 'Asset Transfer' from Transactions in the context menu. All transactions made using Asset Transfer are automatically logged in that Equipment dialog's Notes tab.
Using Asset Transfer Feature
Enter an Equipment ID or a Serial Number in the 'Equipment ID' field of Asset Transfer. Alternatively, select the [Use Scanner] checkbox when using a barcode scanner.
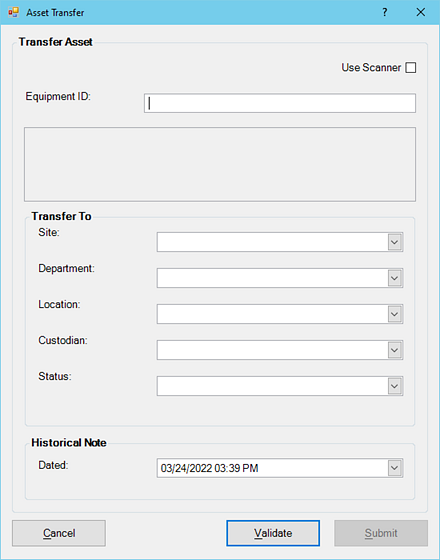
Once an Equipment ID or Serial Number is entered, press [Tab] or [Enter] keys so the additional fields populate with current data about the Equipment record.
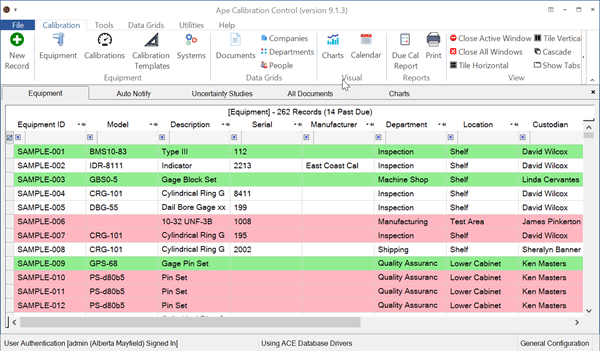
Change the desired fields of Site, Department, Location, Custodian, or Status. Field values changed will highlight green; fields left blank will not be changed.
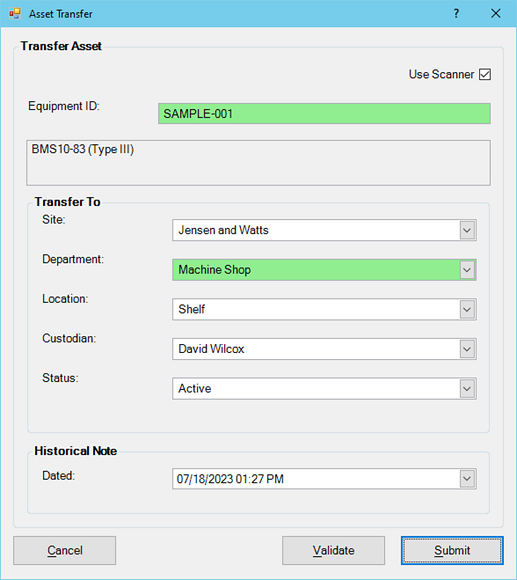
When transferring multiple assets, click the [Validate] button before the [Submit] button to submit and clear data to continue with another transfer. On the final transaction, simply click the [Submit] button to submit and close the Asset Transfer dialog.
Asset Transfer in CC Terminal
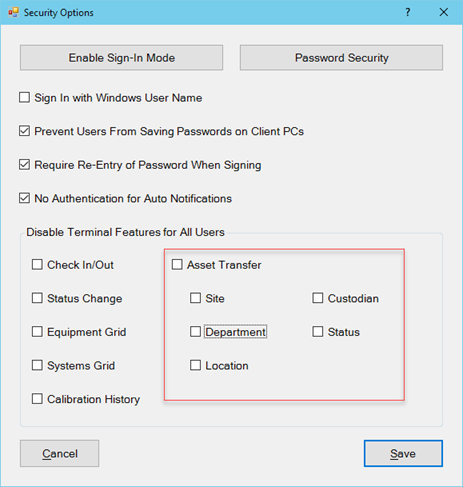
The Asset Transfer feature in Terminal Mode can be active or inactive for Terminal Users. By default permissions, the SuperUser role (default minimum role required) can enable and disable specific Asset Transfer fields, if any, from the Options dialog > Advanced > Security tab.
Multi-Transactional Dialog (Video)
Multiple equipment (including Systems) can now be used in Asset Transfer as a single transaction in version 9.4 and higher. Watch the video to utilize the optional multi-transactional dialog tool, instead of the traditional dialog.
If the option is enabled, simply right-click within the Equipment grid and select from the context menu one of the transactional activities between Check Out, Asset Transfer, and Status Change. Highlight equipment record rows in the Equipment grid and right-click to select Transactions, as demonstrated in the video.
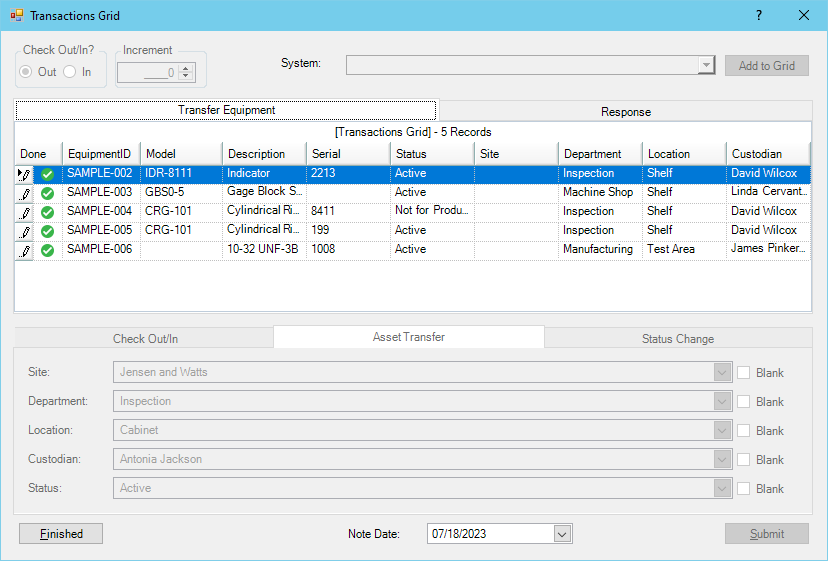
Below are two images demonstrating the swift exchange of an Asset Transfer in the multi-transactional dialog.
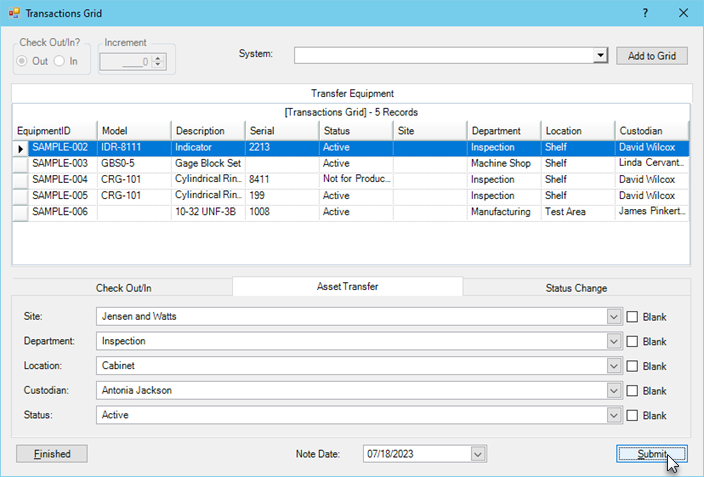
Upon submission, a green confirmation checkmark will appear next to the successful changes for equipment records. View the next tab 'Responses' for more transactional log details.
Transaction History
Again, whether you are using the multi-transactional dialog OR the traditional Asset Transfer dialog, all transactions are automatically stored as historical log records within the Equipment record under the Notes tab.