Part Categories
Create Part Category Codes to Assign to Parts
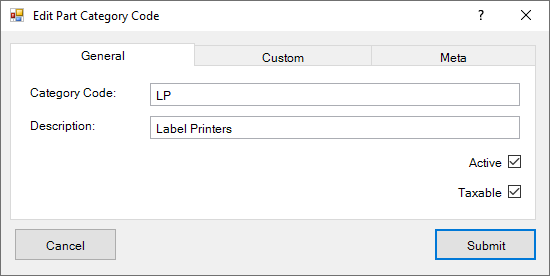
Open the Part Category grid by clicking on its icon in the Data Grids tab of the ribbon menu. Double-click in the gray area to create a new record or right-click and select 'New Record'. Type out a short category code (usually an acronym) and then a short description of the part. Check the Active checkbox if this part category is active, and check the Taxable checkbox if this part is taxable.
Other Tabs
- Custom Fields: Custom fields are available for adding Characters, Dates, Numbers, and Check boxes. Visit the Change Field Names help topic to learn how to edit these fields.
- Meta: This is a READ-ONLY information tab used as a reference to view which user created the record and which user was the last to edit it, including the dates and times these occurred.
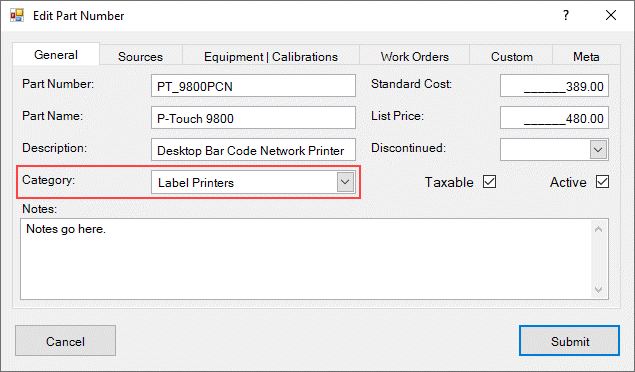
Assign a Part Category to Part Number Record
Within the General tab of the Edit Part Number dialog, select the Part Category from the 'Category' drop-down menu.
Last Updated: 8 July 2019