Program Options
Modify Global Application Settings
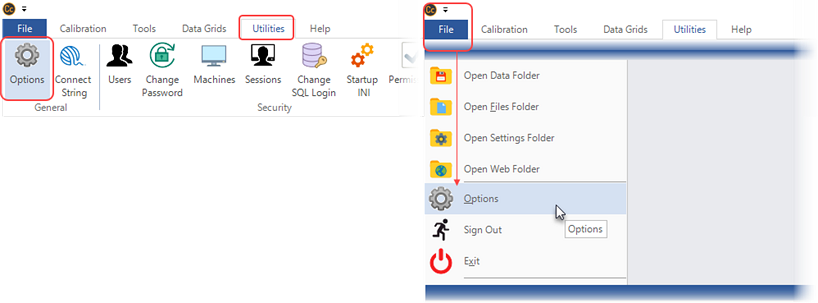
You can modify Calibration Control (our Calibration Management Software) program options by going to the File menu and selecting Options, or access Options from the Utilities tab of the ribbon menu.
Options - General Tab
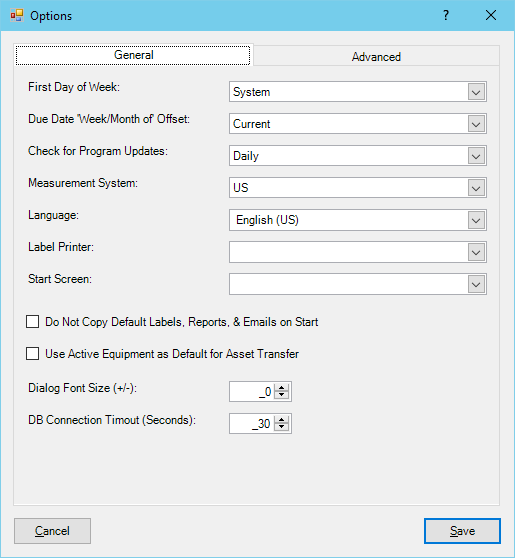
The General tab contains the most basic global settings that apply to your database in Calibration Control. See the next section below defining each of the Advanced tab features.
- First Day of Week: By default, Calibration Control uses the System defined first day of the week. Otherwise, you can define the first day of the week using the dropdown. This setting determines the due date for calibrations using the 'Week of' Frequency.
- Due Date 'Week/Month of' Offset: When calculating Due Date with either 'Week of' and 'Month of' Frequencies, this is calculated by adding the Week of/Month of Units to the Last Calibration, then selects the first day of the Current OR Next Week/Month.
- Check for Program Updates: The software shows program notifications about (a) license Software Maintenance Agreement (SMA) status (active countdown or expired), as well as (b) new releases available for software version updates. The software notifications appear on a Daily, Weekly, or Monthly cycle when the application is opened. By default, you will receive daily program updates.
- Measurement System: Use the drop-down to switch the default measurement system between U.S. and Metric.
- Language: Select the language displayed. Changing the language requires a program restart. Alternatively, you may select a language for each specific User.
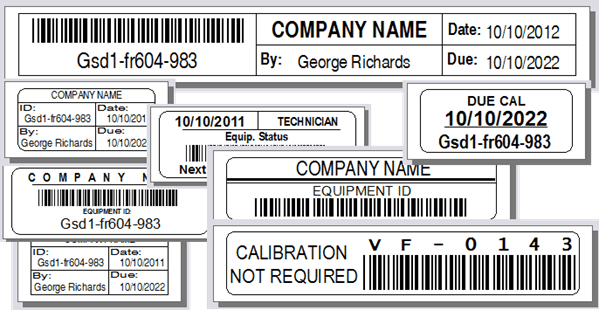
- Label Printer: When multiple label printers are installed on a single computer, identify the default label printer in this setting to print your asset tags and/or due date labels in Calibration Control.
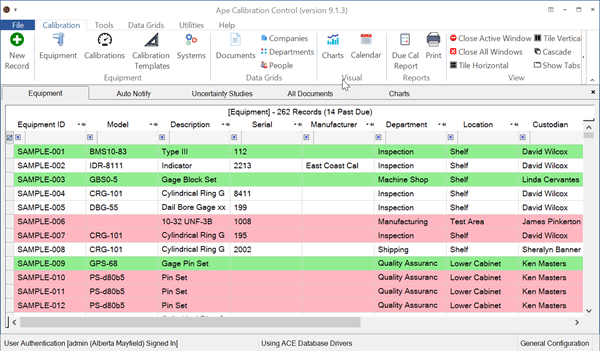
- Start Screen: Select your default start screen when opening Calibration Control. By default and when no selection is made, the Equipment grid will be the start screen. To have no start screen, select "None" from the drop-down.
- Do Not Copy Default Labels, Reports & Emails on Start: When there are missing files of the default labels or reports templates, Calibration Control re-adds these files to your Files Folders upon starting the application. Checking this checkbox prevents this automatic action to re-populate missing templates.
- Use Active Equipment as Default for Asset Transfer: When this checkbox setting is checked, selecting Asset Transfer from any record in the Equipment grid will automatically populate the data fields within the Asset Transfer dialog.
- Dialog Font Size (+/-): Define font size of the dialogs, with 0 being the default. You can also use negative values to shrink the dialog size. Note: Dialog font sizes may appear differently on various machines due to the monitor resolution and display settings.
- DB Connection Timeout (Seconds): Option where administrator user roles can alter their database timeout without modifying the connection string of each user.
Options - Advanced Tab
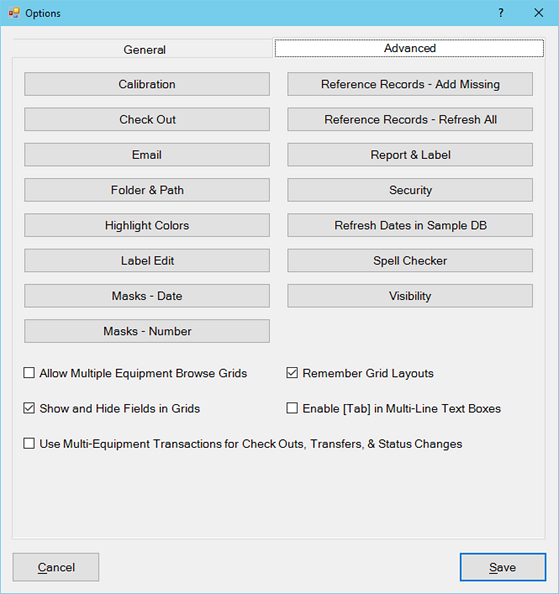
The Advanced tab contains checkboxes described further below. The setting buttons in the Advanced Tab are arranged alphabetically for each respective category. Click a button link below to learn more about each Option category:
[*] If already using a sample database, this button label will display as "Refresh Dates in Sample DB", which will update the sample due dates to be more current.
Additional checkboxes in the Options - Advanced tab are as follows:
- Allow Multiple Equipment Browse Grids: When this option is selected, you have the ability to open Equipment grid more than once.
- Remember Grid Layouts: Keep this default option checkmarked to save all data grid layouts as a layout file on that machine. When using User Authentication (aka Sign-In Mode), grid layouts are remembered by the User Name; whenever you sign back in to Calibration Control on that machine, each data grid open and display the same sort order and layout, even filters, as you had left off. Uncheck this setting to make grid layouts reset to system default each time grids are opened.
(Additionally, when using multiple Machines, you can copy the layout files per Username to maintain the same grid layout settings on another machine. The Layout files are stored in the local CC Settings Folder.)
- Show and Hide Fields in Grids: Check this box to right click in any grid and select the Show Fields dialog, which allows you to show or hide fields in the specified grid. Otherwise, remove this default setting and the Show Fields menu item will be grayed out and inactive.
- Enable [Tab] in Multi-Line Text Boxes: Check this box to enable the tab button to serve as a tab in spacing of multi-line text boxes, instead of using the tab function to move cursor to the next field.
- Use Multi-Equipment Transactions for Check Outs, Transfers, & Status Changes: Check this box to enable the newer multi-transactional single dialog for three transaction functions, rather than using individual (traditional) dialogs for Check In/Out, Asset Transfers, and Status Changes.
Last Updated: 23 January 2024

